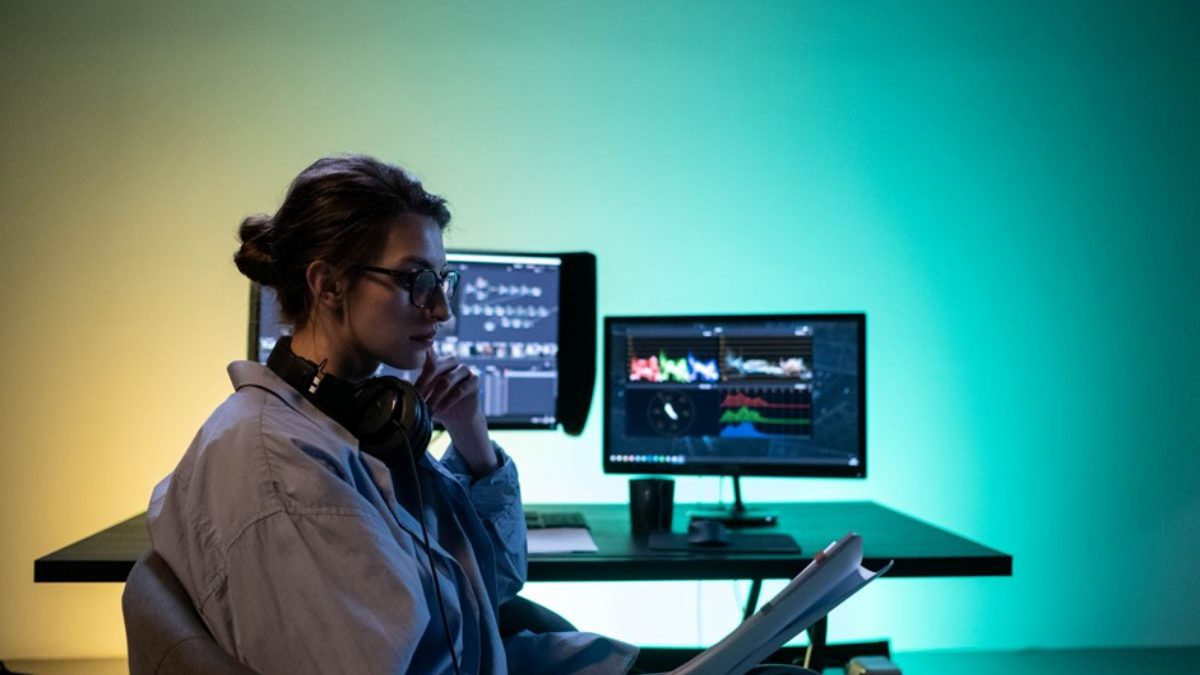
Do you have a video with light or color imperfections? Video color correction can hide almost all the drawbacks of your footage and give it a brand-new look. All you need is to include two steps into your editing process: color correction and color grading. In this article, we’re going to talk about the details of these processes. So let’s dive in!
Table of Contents
Make the Video Look Real with Color Correction
For a start, you’ll need to color correct your video. Color correction is the process of making the image look as close to reality as possible. It’s really important to go through this step before starting to color grade your footage. Without it, you just won’t be able to get the desired colors and lighting in the final outcome. So what can you do to make the image look realistic?
First of all, adjust brightness. It’s a common issue that the video clip is over- or underexposed, so play with the brightness or exposure slider in your video editor to find the most realistic lighting. Then add some contrast to it to highlight the texture of the objects.
While color correcting videos, you also need to deal with the overall gamma. Some programs have automatic tools and presets for this. If you are a more skilled video maker, you may also use curves and other manual tools to get true-to-life colors.
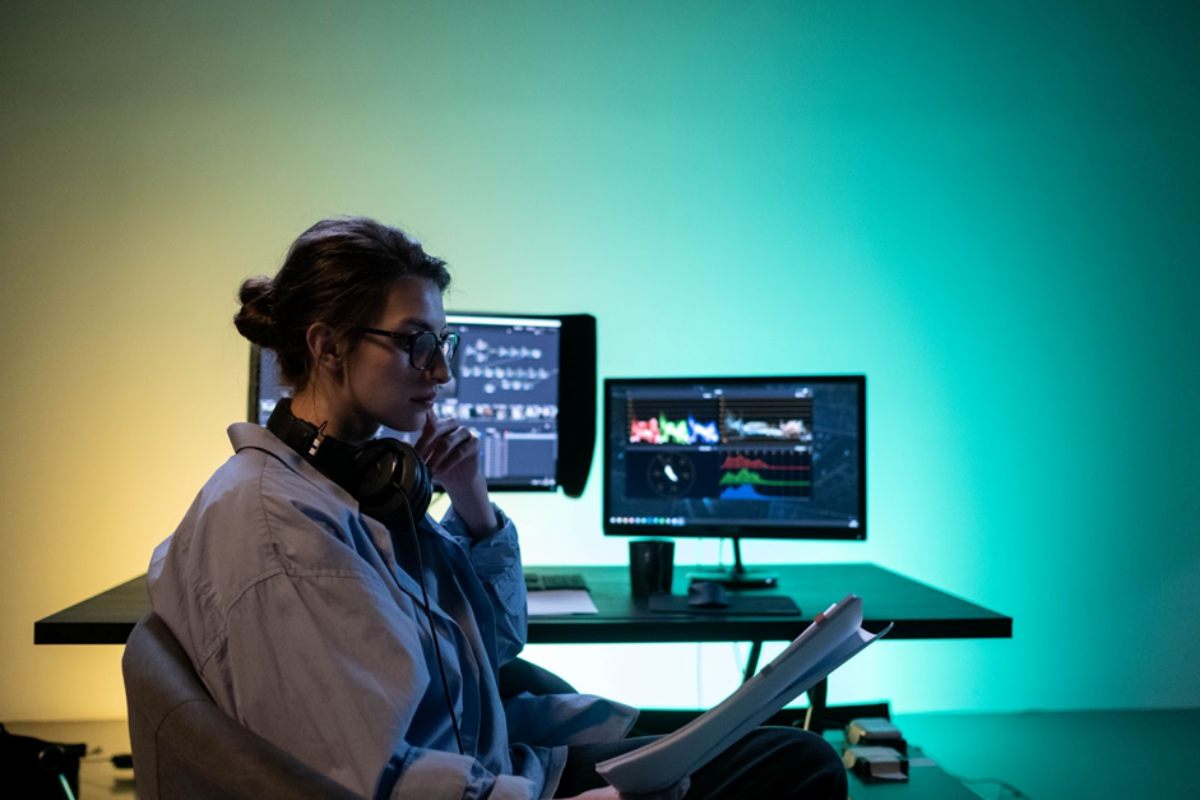
Give It a Cinematic Look with Color Grading
The second and final step is color grading. It is the process of adding a style to the color scheme of your video that is applied on top of the results achieved with color correction.
Good news: you don’t need any additional tools. You can give the image a new look using the same features you used for color correction. Just like with color correction, you should start with brightness and contrast to get the needed exposure and highlight the texture of the objects. When you are satisfied with the lighting, you can move on to color adjustment, the main part of color grading.
There are several features that can help you get the desired colors. Let’s look at them a little closer.
- Hue and saturation are the first settings you deal with when it comes to colors. Hue adjusts the color itself. Using this setting, you can turn red into blue, green into purple, and so on. Saturation refers to the intensity of the color. You can decrease it to make the image duller, closer to black and white, or increase it to get vivid intense colors.
- To adjust the red, green, and blue colors individually, you can use curves. They let choose the channel of a certain color and control its amount in the video.
- Remember that in many programs, you can just use color presets and filters to color grade your footage.
It is also a good idea to choose a single color scheme for your project. Color scheme is the way you combine colors in an image. Here are three commonly used color schemes:
- Monochromatic coloring is when almost the entire image represents different shades of the same color;
- An analogous color scheme uses the dominant color and supporting colors that are close to the dominant one. For example, if the dominant color is yellow, the supporting colors would be light green and orange.
- Complementary coloring is when you use two contrasting dominant colors, for example, yellow and blue.
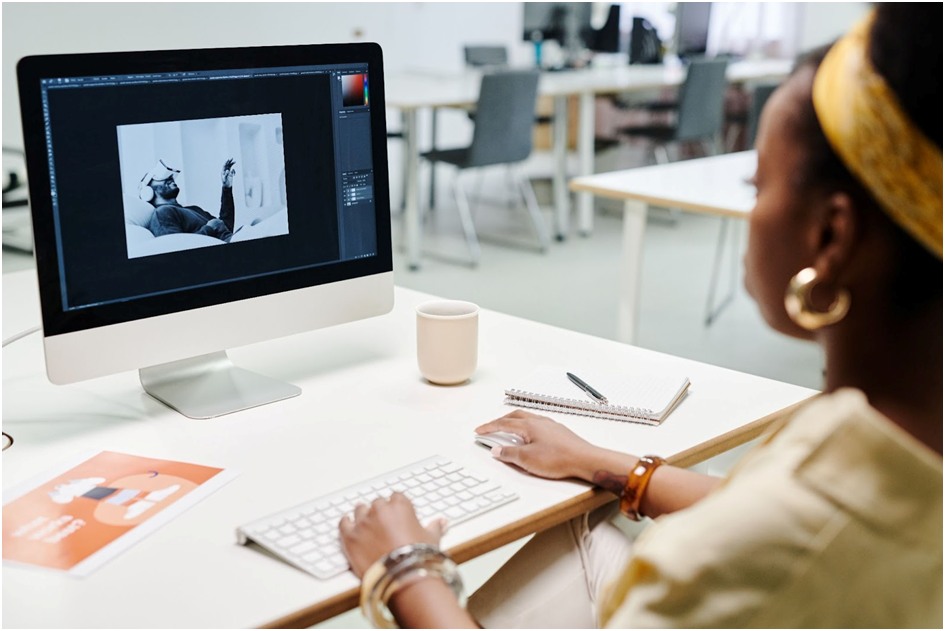
Color Correction Tools
While reading on how to color correct a video, you might have a question: What software can I use for this purpose? There are a lot of expensive tools designed especially for color correction or color grading, but unless you work for Hollywood, a free tool would be enough to do all the editing described in this article. For example, you can check out Clipify. It’s quite easy to use and allows you to adjust brightness, contrast, saturation, and hue, has automated tools for color correction and hundreds of premade effects for color grading. Here you can find detailed instructions on how to do video color correction in Clipify.